-40%
Digital LCD Power Supply Tester Computer 20/24 Pin Check PC 4 PSU ATX
$ 8.92
- Description
- Size Guide
Description
Liquid crystal display power tester instruction manualProduct Introduction:
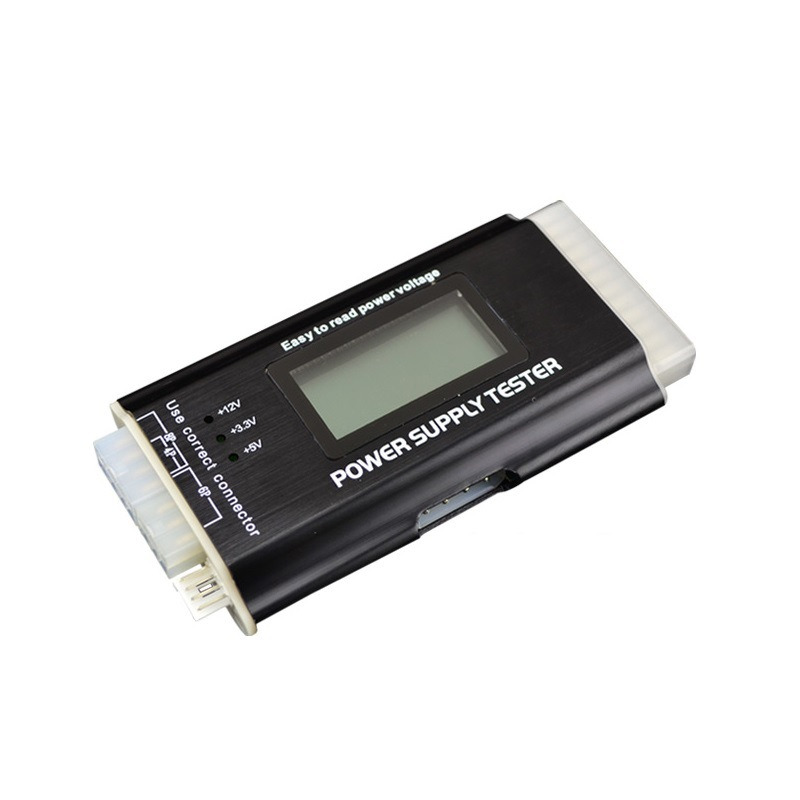
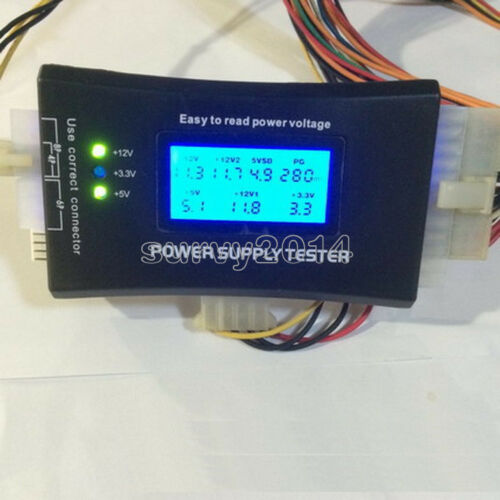
There are more and more power output groups now, and as long as there is a problem in one of them, the hardware of the computer system may not work properly or even burn out the relevant accessories. To measure whether the power output voltage output is stable, usually players will use a multimeter, but it is still a little troublesome for the average user. This power tester only needs to connect the ATX connector of the power supply to simply and intuitively know whether the output of each power supply is normal. Can detect ATX, BTX, ITX, TFX computer power supply, and can LCD display each group of voltage and PG value, quickly detect computer power supply convenient instrument.
Specifications:
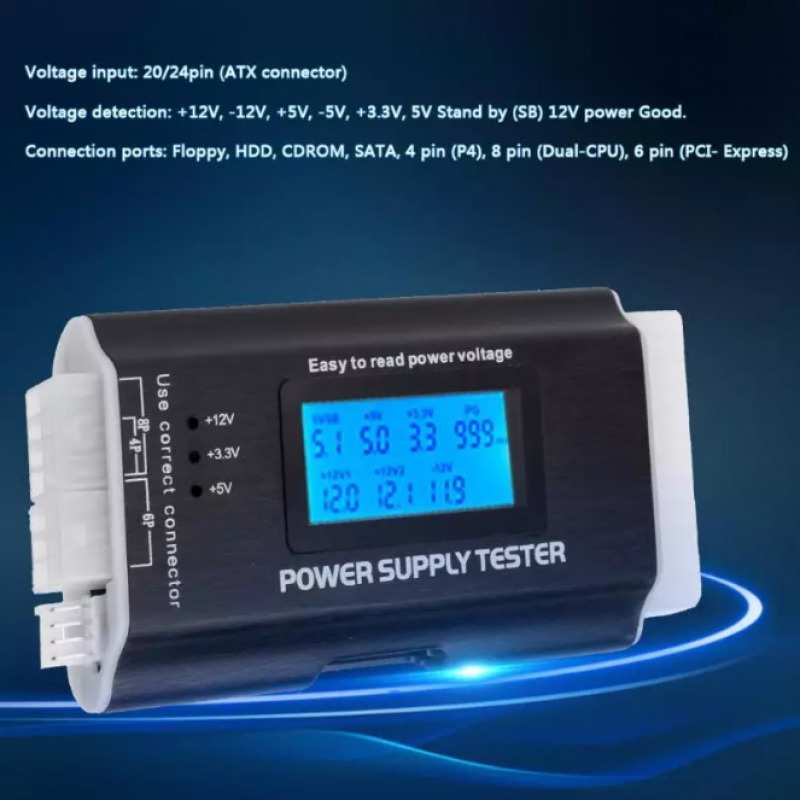
Voltage input: 20/40PIN (ATX power supply)
Voltage detection: + 12V-12V +5V +3.3V 5VSB 12VPG
Connection port: Floppy HDD COROM SATA 4pin(P4) 8pin(Dual-CPU) 6pin(PCI-E)
Weight: Aluminum alloy housing 125g
Packing:
Neutral blister packing
Operation method:
(
Tip
: Because the operation method on the packaging card is relatively simple, please refer to this page for details.)
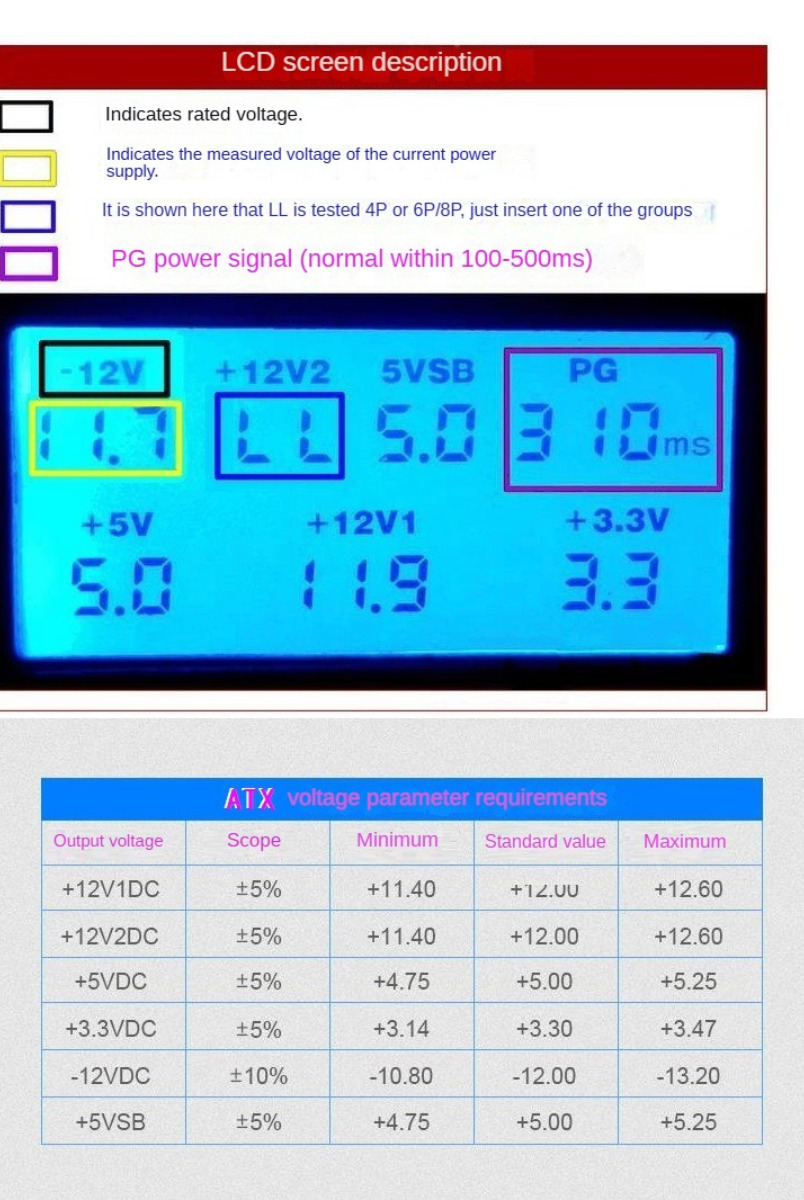
1: Insert the unloaded power supply 20Pin or 24Pin plug into the corresponding position of the power tester. Turn on the power supply, at the same time "drop" sound two startup sound, if the value of each group is not flashing and alarm, it means that the power supply output power is normal. The corresponding voltage or PG value is displayed as a blinking alarm state, indicating that the power supply is a faulty power supply! The test values can be seen in the chart below.
(Tip: If you only plug in the 20Pin or 24Pin interface tester screen (at +12V2) alarm and display LL, the LL shown here is used for testing 4P or 6P/8P, if it is not inserted, you can leave it alone. Or plug in one of the groups. Please check the 4P must be inserted in the 4P position! Don't plug it wrong!
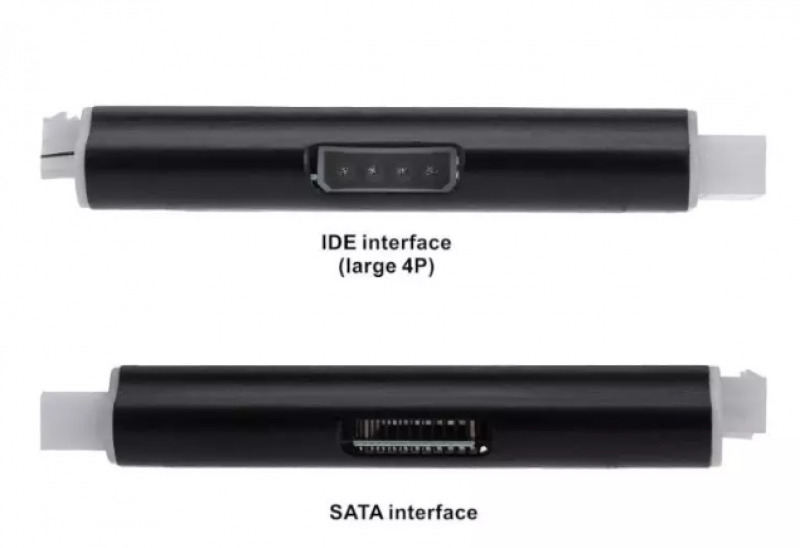
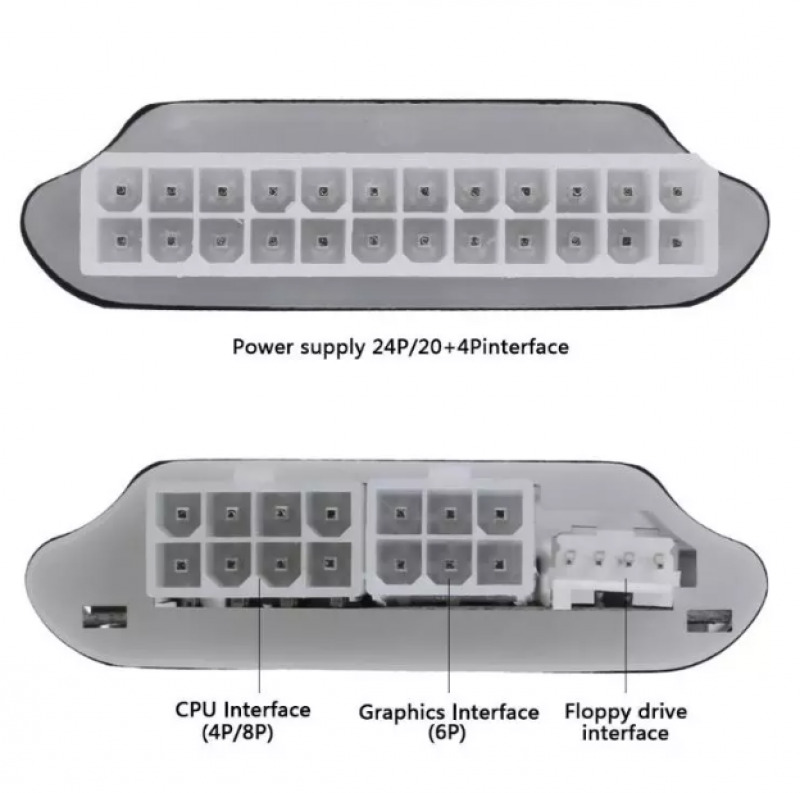
2: Other large 4P(HDD interface), small 4P(floppy drive interface), 4P/8P (CPU interface), 6P (graphics card interface), SATA interface, these interfaces need to be plugged in when testing. You can leave it unplugged when you're not testing.
Plug in the large 4P(HDD interface) and the small 4P(floppy drive interface) tester to the left of the +12V and +5V display lights on (if the lights are not on, it indicates that this group of lines is faulty.)
Plug in 4P/8P (CPU interface), 6P (graphics card interface) tester screen (at +12V2) displays the test voltage (if there is a fault will blink alarm).
Plug in the SATA interface tester to the left of the +12V, +5V and +3.3V display light. (If the light is not on, this group of lines is faulty. The power supply SATA interface of individual manufacturers does not have a +3.3V voltage output.
Attention:
The +3.3V light of the SATA interface tester is not on, because the power SATA interface on the market now has 4 wires and 5 wires! First of all, confirm whether your power supply SATA interface is 4 wires or 5 wires, if it is 4 wires, there is no +3.3V output, and only 5 wires have +3.3V output.
Special reminder: try not to
hot plug when using oh! Such as hot plug test data may be some discrepancy! This is basic common sense!

